


Revitalize Your Stovetop: Remove Burnt-on Residue Successfully
Posted on 22/05/2025
Revitalize Your Stovetop: Remove Burnt-on Residue Successfully
Is your stovetop marred by stubborn, burnt-on residue that refuses to budge? You're not alone. Keeping a cooking surface sparkling clean is one of the most persistent kitchen challenges. Over time, food spills, oil splatters, and high heat combine to create unsightly burnt patches that seem impossible to remove. Fortunately, with a bit of know-how and the right approach, you can restore your stove to its former glory. This comprehensive guide contains safe, effective methods for removing burnt-on residue from any stovetop, along with pro tips for preventing future messes.
Understanding Your Stovetop: Types and Challenges
Before you begin, it's important to identify your stovetop type. Each material--such as glass, ceramic, or traditional coil burners--presents different cleaning needs and vulnerabilities.
- Glass & Ceramic Stovetops: Sleek and modern, but prone to scratches. Require gentle, non-abrasive cleaning techniques.
- Gas Stovetops: Feature removable grates and burners. These surfaces can be more forgiving, but food can hide in awkward crevices.
- Electric Coil Stoves: Durable but can accumulate residue underneath the coils and on drip pans.
Identifying your stove's material is crucial for choosing the right cleaning method and preventing accidental damage.
Why Burnt-on Residue is So Tough to Remove
Burnt-on residue forms when food and oils undergo a chemical transformation due to prolonged exposure to high temperatures. This process essentially bakes-on debris, causing it to adhere stubbornly to stovetop surfaces. Over time, layers build up, making cleaning jobs even more involved. Breaking this bond typically requires a combination of heat, moisture, and gentle abrasion.
Essential Tools and Materials for Stovetop Cleaning
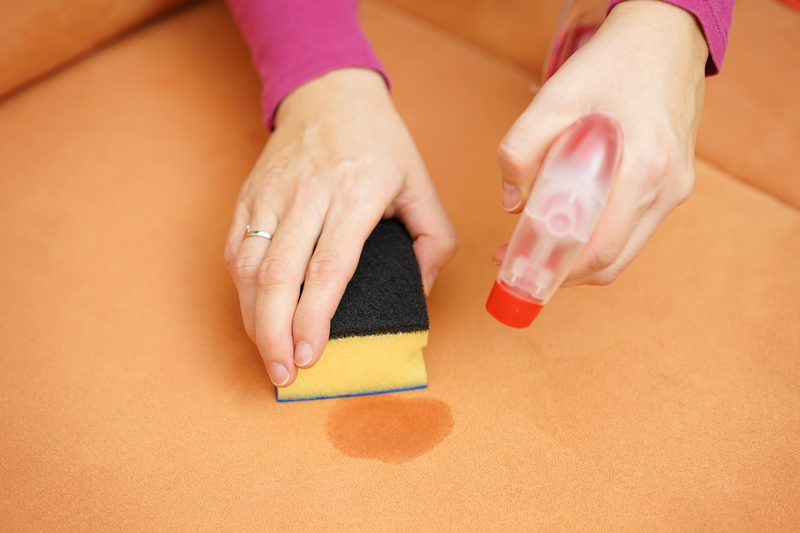
- Baking Soda: A natural, mildly abrasive cleaner that works wonders on many surfaces.
- White Vinegar: Helps dissolve stubborn stains and cuts through grease.
- Soft Cloths or Microfiber Pads: Ideal for wiping up residue without scratching surfaces.
- Plastic or Silicone Scrapers: Lets you remove gunk without damaging your stovetop.
- Commercial Stovetop Cleaners: Great for heavy-duty cleaning, but always check they're safe for your specific stove.
- Sponge (Non-Abrasive): Necessary for everyday cleaning and tackling mild stains.
- Rubber Gloves: Protect your hands from harsh cleaning agents and heat.
- Spray Bottle: For applying cleaning solutions evenly.
Step-by-Step Guide to Removing Burnt-on Stovetop Residue
1. Safety First: Preparation
Always ensure the stovetop is cool and switched off before cleaning. If you're cleaning a gas stove, turn off the gas supply. Remove removable components like grates, drip pans, and burner caps and set them aside for separate cleaning.
2. Initial Debris Removal
Use a damp cloth or paper towel to wipe away any loose crumbs or food particles. This first step ensures you don't accidentally scratch your stovetop by rubbing loose debris into the surface.
3. Soften the Burnt-on Residue
- Soak a towel in hot, soapy water and lay it over the burnt areas for at least 15 minutes.
- This softens the residue, making it easier to remove.
- For tougher spots, apply a mixture of equal parts white vinegar and water via spray bottle and let it sit.
4. The Baking Soda Paste Technique
- Mix 3 parts baking soda with 1 part water to make a thick paste.
- Apply the paste directly onto the burnt-on stains, ensuring thorough coverage.
- Let it sit for at least 20 minutes--the longer, the better for heavily baked-on stains.
- Gently scrub the area with a non-abrasive sponge, microfiber pad, or plastic scraper.
- Wipe clean with a damp cloth, removing all paste and residue.
Tip: For glass or ceramic surfaces, avoid using steel wool or metal scouring pads, which can scratch or damage the finish.
5. Tackling Stubborn Spots with Vinegar
- Spritz white vinegar directly onto any remaining residue.
- Allow it to fizz and bubble for a few minutes.
- Wipe clean with a soft, damp cloth.
*The acetic acid in vinegar helps break down minerals and food particles, making it ideal for finishing touches.*
6. Cleaning Grates and Electric Coils
- Soak grates, burner caps, and drip pans in hot, soapy water for at least 30 minutes.
- Scrub with a sponge or brush, then rinse thoroughly and dry completely before returning to the stovetop.
- For severe buildup, sprinkle baking soda onto the parts and spray with vinegar, allowing the reaction to loosen grime before scrubbing.
- If possible, gently wipe down electric coils with a damp sponge (ensure they are completely cool and unplugged!) but do not immerse them in water.
7. Polish and Final Touches
Wipe down the stove surface with a fresh cloth dampened with water to remove any lingering cleaning solutions. Dry thoroughly to prevent streaks. For extra shine, buff glass or ceramic stovetops with a dry microfiber cloth.
Special Solutions for Extra-Tough Stovetop Residue
1. Commercial Cream Stovetop Cleaners
Specialized stovetop cleaning creams provide targeted action for burnt-on gunk, especially for ceramic and glass surfaces. Always follow manufacturer instructions and spot test in an inconspicuous area first.
2. Razor Blade Scrapers (with Caution!)
For truly unyielding stains on glass or ceramic stoves, use a razor blade scraper held at a shallow angle. Gently work under the burnt residue without pressing too hard, as too much pressure may cause scratching or chipping. Only attempt this technique on stove surfaces specifically labeled as razor-safe.
3. Enzymatic Cleaners
Enzyme-based cleaners are excellent for breaking down organic matter and protein-based stains without abrasion. Spray, let sit according to instructions, and then wipe clean.
4. Ammonia Fumes Overnight Method (For Grates & Burner Covers)
- Place greasy stove grates or burner covers in a sealable plastic bag.
- Add a small amount of household ammonia to the bag (not covering the grates, just enough for fumes).
- Tightly seal and let sit overnight in a safe place.
- The fumes help dissolve stubborn residue, making it easy to wipe away in the morning. *Make sure to ventilate the area and avoid inhaling fumes directly.*
Preventing Burnt-on Build-up: Maintenance Tips
- Wipe Spills Immediately: Clean as you go. Wiping up splatters right after cooking prevents burnt stains from forming.
- Use Drip Pans and Splatter Guards: Protect surfaces while cooking greasy or messy dishes.
- Conduct Weekly Cleanings: Regular attention keeps minor stains from turning into major cleaning battles.
- Use the Right Cookware: Flat-bottomed pots and pans heat more evenly, discouraging spillage and burnt areas.
- Avoid High Heat for Long Periods: Excessive high heat scorches food onto surfaces and increases the likelihood of burnt residue.
Safe Practices When Cleaning Your Stovetop
Remember these vital safety tips to avoid accidents and damage:
- Never clean a hot stovetop--wait until it cools to avoid burns.
- Always unplug or turn off appliances before cleaning, especially electric coil models.
- Avoid mixing chemical cleaners, as dangerous fumes can result.
- Use only non-abrasive tools on glass or ceramic models to prevent scratching.
- Wear gloves to protect your hands from hot water and harsh agents.
The Environmental and Health Benefits of a Clean Stovetop
Removing burnt-on residue does more than make your kitchen look appealing. It prevents the re-burning of old food, which can release smoke and unpleasant odors. A clean surface also reduces allergen and bacteria buildup, ensuring healthier meals for your family. By using natural cleaning solutions like baking soda and vinegar, you'll also minimize harsh chemicals in your home, making your stovetop cleaning routine eco-friendly and family-safe.

Frequently Asked Questions About Stovetop Residue Removal
Can I use bleach to clean my stovetop?
While bleach is an effective disinfectant, it is usually unnecessary and may damage coated or delicate surfaces. Stick to baking soda, vinegar, or approved commercial cleaners for best results.
What if the burnt-on residue won't come off?
For extremely stubborn spots, repeat the baking soda and vinegar steps, allowing solutions to sit longer. Try commercial creams or enzyme-based cleaners if needed, and only consider a razor blade scraper on razor-approved glass or ceramic surfaces.
How often should I deep clean my stovetop?
Ideally, perform a full clean every week or whenever heavy spills occur. Daily light maintenance will keep buildup to a minimum.
Can I put grates or burner covers in the dishwasher?
Some models are dishwasher-safe, but check the manufacturer's instructions. Extremely greasy or burnt-on parts may require pre-soaking and scrubbing for best results.
Conclusion: Enjoy a Revitalized, Shining Stovetop
Burnt-on stovetop residue doesn't have to be permanent. With the right techniques and a little persistence, your cooking area can look as good as new. Whether you choose tried-and-true home remedies like baking soda and vinegar or gentle commercial cleaners, the key is consistency. Regular cleaning not only keeps your stovetop beautiful but also extends its lifespan and ensures safer, healthier meal preparation.
Next time your stove plays host to a splattered sauce or burnt pot, don't panic. Follow these steps, and you'll revitalize your stovetop, removing burnt-on residue successfully every time!
Ready for more cleaning tips? Stay tuned for additional guides on keeping your kitchen appliances spotless and efficient!
Latest Posts
The Tenant's Path to Flawless End of Tenancy House Cleaning
Achieve a Tidy Home with Minimal Effort
Banish Mould from Your Window Sills with These Tips
Take Your Car Cleaning to the Next Level Like a Pro
Delight in Velvet Curtains That Remain Flawless with This Washing Guide
